Beaded Planner Charm
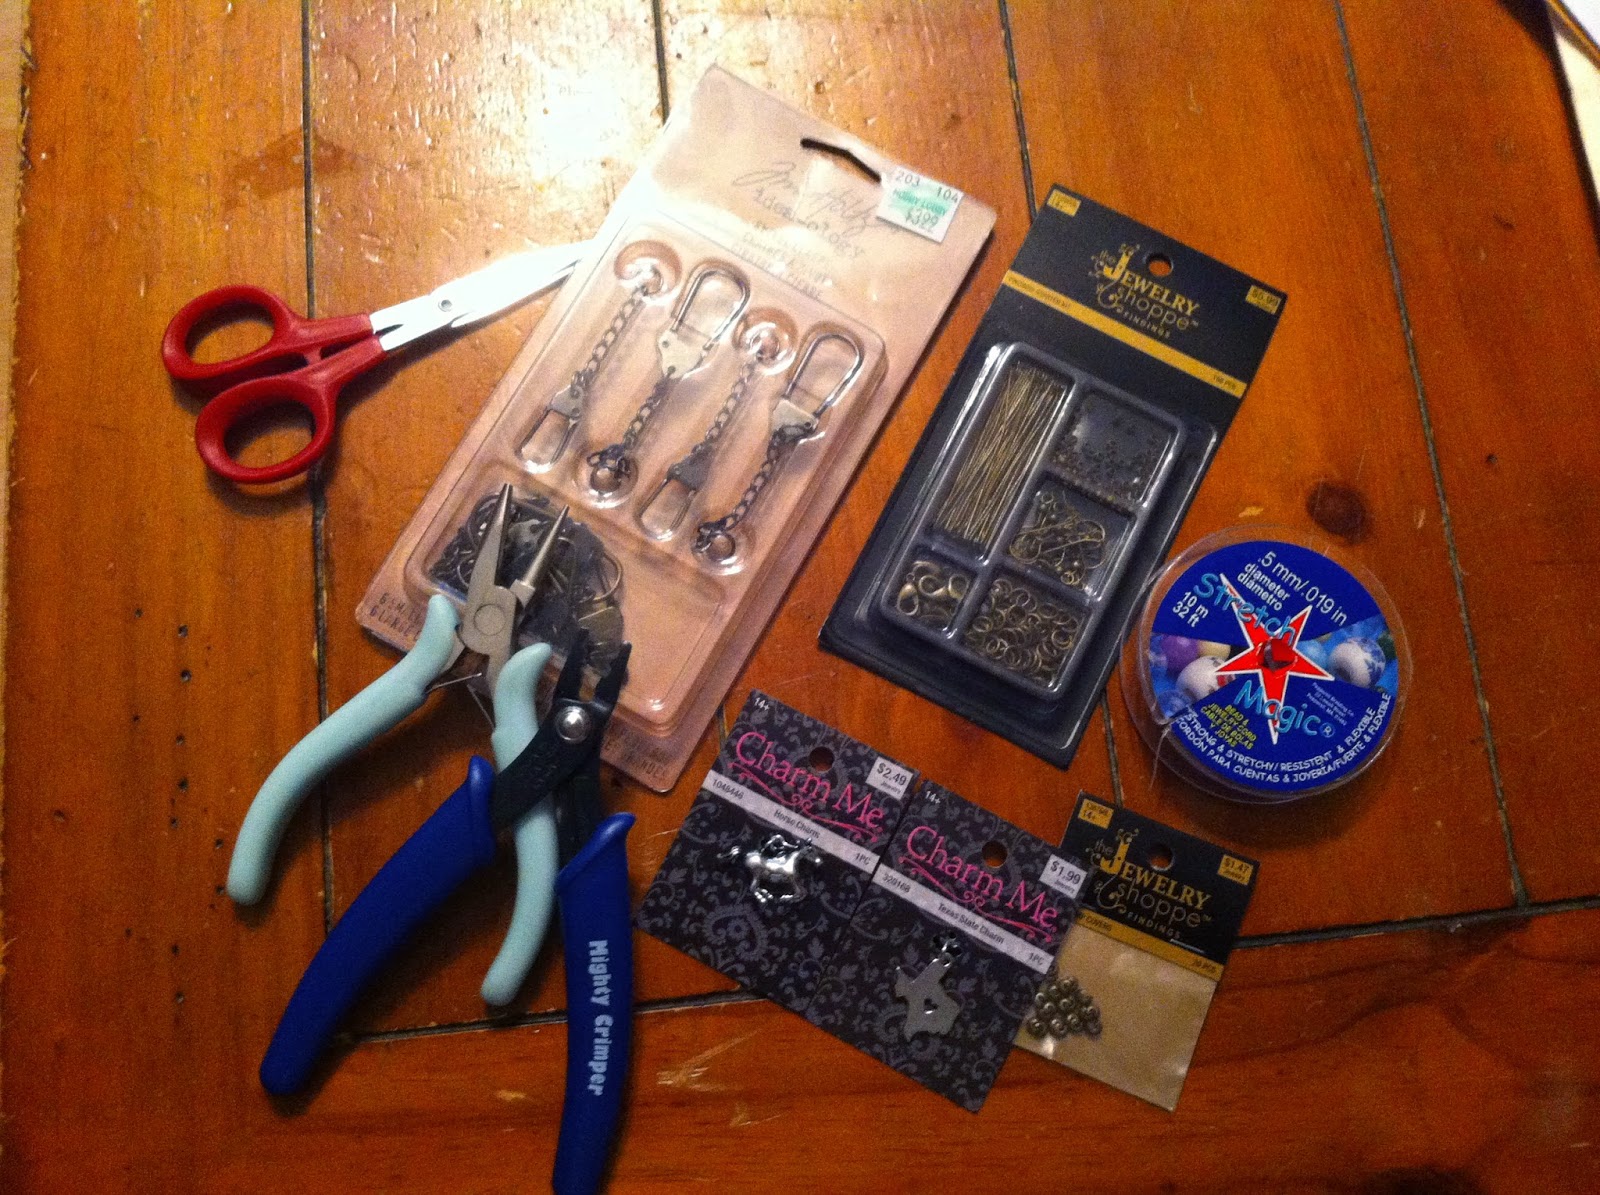

Here are the items I used to create my beaded planner charm. 
Here is a close-up of the items I purchased today at HL (Hobby Lobby). 
I purchased the beads last summer at a bead shop in Albuquerque called Poppyfield Bead Company. They have a webpage and blog. 
http://poppybeads.com/    http://beadfingers.blogspot.com/ 
Check it out when you get a chance. 

The horse charm I picked up this morning at HL.
Let me know if you have any questions or comments.
Have a great rest of the day!

Comments

Popular posts from this blog

February 10, 2012 Valentine's Day Treat Holder (for Teachers/Para/Bus)

Good afternoon everyone! I am wrapping up all Valentine's Day treats/holders for my kiddos today. I made a little Valentine's Day treat holder out of a tag from the Cricut TBBM (Tags, Bags, Boxes, and More) cartridge. I measured the bottom portion of the tag and cut a piece of Kraft cardstock and had sewn that to the tag. After I added the grass (used a Fiskars border punch), lake, grass, lily pad, and frog (all from Create a Critter) I used the We R Memory Keepers Crop-A-Dile Corner Chomper to round off the bottom of the tag. I used a stamp from Stampin' Up from the Flight of the Butterfly stamp set and then attached the dragonfly I cut from the Create a Critter cartridge. The little eyes on the dragonfly are bling from iRock. Hope you like it. Have a great weekend everyone!;0) I am entering this in a challenge, here is the link: http://www.creativetimeforme.com/2012/02/throwback-thursday-challenge-episode.html

November 18, 2011 Rosette Turkey #2

Good afternoon!!! Here is my updated version of the rosette turkey. If you would like directions, I followed the Pumpkin Rosette directions and then added my own details. For the pumpkin rosetted directions, please go to the Turkey Rosette post previouslly posted.;0) This is what I did to alter the Pumpkin Rosette: I did not make the first rosette (2 strips of 1 1/2 x 12 inch-top layer),  instead I made two of the bottom size rosettes (2 strips of 1 3/4 x 12 inch) ,  one on top ... one on the bottom. For the tail: I cut a scalloped circle and glued the paper to that, making a half rosette. If you pinch the inner part of the paper it is easier to (hot) glue to the scalloped circle. Ingredients: Recollections paper                     (old) SU paper (red and orane)                ...

November 5, 2011 Rosette Turkey

Good afternoon everyone!!! I made a rosette this morning. I was wanting to make some sort of Thanksgivng decoration for my son's teacher and this is what I came up with. I found the directions for the rosette here: http://mrsbscraftroom.blogspot.com/ Go check out here blog if you haven't been there before. She made a beautiful pumpkin rosette.:0) AND she made a video to show you how to make it.;0) I followed the instructions she had and made the brown rosette. I added an extra rosette on the top, I believe it was 2 1/2 x 12 (2 pieces). What I added: 3 strips of 4 x 12 scored at 1/2 inch intervals. I made a 1/2 rosette. At the bottom (to hold it together) is about a 2x12 strip of the same cardstock glued to the rosette. The cartridge I used was Create a Critter. The cardstock I used was: rosette and turkey (Recollections) and the rest was (old) SU. Let me know if you have any questions. Have a great weekend!!!:0)